10 mobile-first design tips for exceptional user experiences

The short answer
Mobile-first design starts with the most constrained context - small screen, slow connection, one hand - then builds up. RaftLabs applies these on every build: 44x44px tap targets, 16px text floor, thumb-zone CTAs, deferred JS. A 1-second load improvement lifts mobile conversions ~7%.
Key Takeaways
- Mobile devices generate more than half of all web traffic. A slow or hard-to-use mobile experience loses users before they see your value.
- Performance optimization - compressed images, browser caching, CDN delivery - can cut mobile load time by 40-60% without changing any visible UI.
- Thumb-friendly design places primary actions in the bottom third of the screen, where one-handed users can reach them without adjusting their grip.
- Mobile accessibility requires 44x44px tap targets, 4.5:1 contrast ratios, and screen reader testing on real iOS and Android devices - not just simulators.
- Test on real devices, not browser dev tools. Emulators miss touch behavior, scroll physics, and performance differences between hardware tiers.
Mobile devices now account for more than half of all web traffic. If your product loads slowly, has hard-to-tap buttons, or requires horizontal scrolling on a phone, you're losing users before they see your value. Here are 10 practical tips for mobile-first design that improve user experience across every screen size.
The myth worth killing first
Most teams treat mobile-first as a visual exercise - making things smaller to fit a phone. That's not it. Mobile-first is a constraints exercise. You start with the least capable context (small screen, slow connection, one-handed use) and build up from there. Desktop is the enhancement, not the default.
The failure mode: teams design desktop-first and spend the last 20% of a project "making it work on mobile." That 20% almost never gets done properly. Google's 2022 mobile UX research found that 57% of users won't recommend a business with a poorly designed mobile site. Once a user leaves, 44% don't return.
1. Start with a single-column layout
One column. No exceptions for the initial mobile layout. Multi-column grids on small screens cause content to shrink past readability or break into awkward wraps.
The non-obvious reason this matters: CSS grid and flexbox reflows are expensive on low-end Android devices (still 30-40% of the global market). A single-column starting point means fewer reflow calculations and faster paint times. Add columns for tablet and desktop with min-width breakpoints.
Failure mode: two-column card grids on 375px screens where each card is 170px wide - barely enough to read a title, let alone an image with text.
2. Compress images before the page touches the browser
Images are typically 60-80% of a mobile page's weight. A single uncompressed hero image can be 3-5MB. On a 4G connection, that adds 1-3 seconds to load time. On 3G - still common in rural US and most of Southeast Asia - it's longer.
The specific fix: serve WebP with a JPEG fallback. Use srcset to serve smaller images to smaller screens. Compress to 80% quality with tools like Squoosh or imagemin. A 400KB WebP hero image renders faster and looks identical to a 2MB JPEG at mobile viewport widths.
One metric worth knowing: Cloudflare's 2023 web performance data showed that reducing image weight by 50% reduced mobile Time to Interactive by an average of 1.4 seconds.
3. Put critical actions in the thumb zone
The bottom third of the phone screen is where one-handed users can tap without shifting their grip. The top third requires a full grip change or a second hand.
The three zones, from practical use research:
Easy reach: bottom ~40% of screen
Stretch zone: middle ~35%
Hard reach: top ~25%
Put your primary CTA, main navigation, and search in the easy-reach zone. Put settings, account management, and destructive actions (delete, cancel) higher up - you want those harder to tap by accident.
Failure mode: hamburger menus pinned to the top-left corner. That's where users least expect to stretch. Bottom tab bars (used by Instagram, YouTube, and every major app) exist for a reason.
4. Make tap targets 44x44 pixels minimum - and space them
Apple's Human Interface Guidelines and Google's Material Design spec both land on 44x44 points as the minimum tap target size. This isn't a soft recommendation. MIT Touch Lab research found that adult fingertips cover 8-10mm of screen, and anything smaller produces more error taps than accurate ones.
Spacing matters as much as size. Two 44x44px buttons 2px apart are harder to use than two 44x44px buttons 16px apart. The spacing gives the user a margin for error.
The specific failure mode: icon-only navigation with 24px icons and no padding. You'll see this on older sites where desktop-designed icons were dropped into the mobile layout. Tap accuracy drops below 70% on icons this size, according to the MIT study.
5. Use 16px as your body text floor - never go below 14px
Small text on mobile is one of the most common and most ignored problems. The default browser font size is 16px for a reason. Going below it forces users to pinch-zoom, which signals a broken mobile experience.
Practical type scale for mobile:
Body text: 16px minimum (Inter, Roboto, or system UI)
Small labels: 14px - only for captions and metadata, never for body copy
Headings: 24-32px on mobile (not the 48-64px you use on desktop)
Line height: 1.5-1.6 for body, 1.2-1.3 for headings
The failure mode: developers copy desktop CSS to mobile without adjusting the type scale. A 14px body paragraph that reads fine on a 27-inch monitor is physically painful to read on a phone held at arm's length.
6. Cut navigation to what fits on one thumb
More than five navigation items on mobile creates cognitive load. Users can't hold five options in working memory while also reading content. The practical rule: expose three to five top-level items. Everything else goes into a secondary menu or a "More" tab.
Clear labels beat icon-only navigation. Tests consistently show that labeled icons are 20-30% faster to tap correctly than icon-only interfaces for new users. Icons alone work when the meaning is universal (home, search, back) - for anything domain-specific, add a label.
The failure mode: lifting the full desktop navigation into a hamburger menu with 12 items, nested sub-menus, and hover states that don't translate to touch. Users open the menu once, give up, and bounce.
7. Defer JavaScript that isn't needed for the initial render
Mobile devices have slower CPUs than desktops. A JavaScript bundle that runs in 200ms on a MacBook Pro can take 800ms on a mid-tier Android phone. That's 800ms where the user sees a page they can't interact with.
The fix: split your bundle. Load only what's needed for the visible viewport on first paint. Defer analytics, chat widgets, and below-the-fold scripts until after the user can interact with the page.
Lighthouse's Time to Interactive (TTI) metric measures this. A TTI under 3.8 seconds is "good" by Google's standards. Most unoptimized mobile pages score 6-10 seconds. Every 100ms reduction in TTI improves conversion rate by roughly 1% on mobile, according to Deloitte's 2020 mobile performance study.
8. Design accessible from day one, not as a retrofit
WCAG 2.1 AA is the legal baseline in the US, UK, and Australia. On mobile, the specific requirements that get missed most often are:
Color contrast: 4.5:1 ratio for normal text, 3:1 for large text (18px+). Use the WebAIM Contrast Checker before finalizing any color combination.
Tap target size: 44x44px minimum (covered in tip 4 - it's an accessibility requirement, not just a usability one).
Form labels: placeholder text disappears when the user starts typing. Always use a visible label above the input field. This matters especially for users with cognitive impairments.
Screen reader testing: test with VoiceOver on iOS and TalkBack on Android. Simulators don't replicate real device screen reader behavior.
Retrofitting accessibility is expensive. Teams that add it after launch typically spend 3-5x more than teams that design for it from the start, based on patterns across dozens of projects.
9. Test on real hardware - specifically low-end Android
Browser DevTools mobile emulation is useful for layout work. It's not a substitute for real device testing.
Emulators miss:
Touch event physics (momentum scrolling, inertia)
GPU memory constraints that cause rendering glitches on 3-4GB RAM devices
Network conditions on real carriers
System font rendering differences between Android OEMs
The testing matrix worth using before any launch:
iPhone (latest iOS, Safari)
iPhone (2 generations old, Safari)
Android flagship (Chrome)
Android mid-range (Chrome) - Samsung Galaxy A-series or Motorola G-series
Run Lighthouse in Chrome DevTools on mobile settings. Check performance on Simulated 4G throttling. If your Largest Contentful Paint (LCP) is above 2.5 seconds, fix it before launch.
10. Use progressive enhancement, not graceful degradation
This is where the mobile-first philosophy diverges from "responsive design." Progressive enhancement means you write the simplest, most functional version of a feature first - the version that works on any device with any connection - then layer on enhancements for faster devices and larger screens.
Graceful degradation is the opposite: build the rich version first, then strip things down when they break. It sounds equivalent. It isn't.
Teams using graceful degradation typically find that "stripping down" takes too long, gets cut, or produces a hobbled mobile experience. Teams using progressive enhancement ship a solid mobile baseline and a genuinely improved desktop experience.
The practical test: disable JavaScript and load your page. Can users read the core content? Can they submit the contact form? If yes, you're using progressive enhancement. If the page is blank or broken, you're not.
Mobile-first design isn't a checklist you run once. It's a set of constraints you apply every time you add a new feature. The teams that get it right don't think "how do we make this work on mobile?" - they think "what's the most stripped-down version of this that solves the problem?" and build up from there.
At RaftLabs, we apply these principles on every mobile build we ship - from thumb-zone layout decisions in discovery through real-device performance testing before launch.
Ask an AI
Get an instant summary of this post from your preferred AI assistant.
Frequently asked questions
- Mobile devices account for more than half of all web traffic. If your product loads slowly, has small tap targets, or requires horizontal scrolling on a phone, users leave before they see your value. Mobile-first design forces you to prioritize what matters most - fast load times, clear navigation, and readable content - then add complexity for larger screens. Products built desktop-first often never get properly optimized for mobile, which is where most users actually are.
- Mobile performance gains come from four areas. Minimize file sizes for images and scripts. Use browser caching to avoid re-downloading assets on repeat visits. Route static content through a CDN so files load from a server close to the user. Defer non-critical JavaScript so the page renders before all scripts execute. Together, these changes can cut load time by 40-60% on mobile connections. A one-second improvement in load time increases conversions by roughly 7% on mobile.
- Good mobile navigation keeps the number of visible options low and places them within thumb reach. Use a hamburger menu or bottom tab bar for secondary navigation. Make tap targets at least 44x44 pixels so users can hit them accurately. Use clear labels, not just icons. Reduce the number of steps to complete any task - every extra tap increases drop-off. Test navigation flows on real devices with one hand before shipping.
- Most users hold their phone with one hand and scroll with their thumb. This creates three zones on the screen: easy reach at the bottom, stretch zone in the middle, and hard reach at the top. Place your most-used actions - search, main navigation, primary CTA - in the easy-reach zone. Put less-used controls higher. Avoid placing important actions in the top corners where they require a full grip shift. Test your layout by using the app yourself with one hand before finalizing the design.
- WCAG 2.1 AA is the baseline for mobile accessibility. Key requirements include 4.5:1 contrast ratio for normal text, visible focus indicators for keyboard and switch navigation, alt text on all images, and all interactive elements operable without a touchscreen. For mobile specifically, test with VoiceOver (iOS) and TalkBack (Android). Target sizes should be at least 44x44 points. Forms need visible labels, not just placeholder text. Accessibility testing should happen on real devices, not just simulators.
Stay on topic
More on product design & UX
Work with us
Design System Development
See the serviceRelated articles

Cost to Build a Music Streaming App Like Spotify: Timeline and What Niche Operators Need
Music streaming app development cost and timeline for record labels, religious platforms, podcast networks, and niche genre services. Real cost ranges, V1/V2/V3 phases, and why white-label tools break at scale.
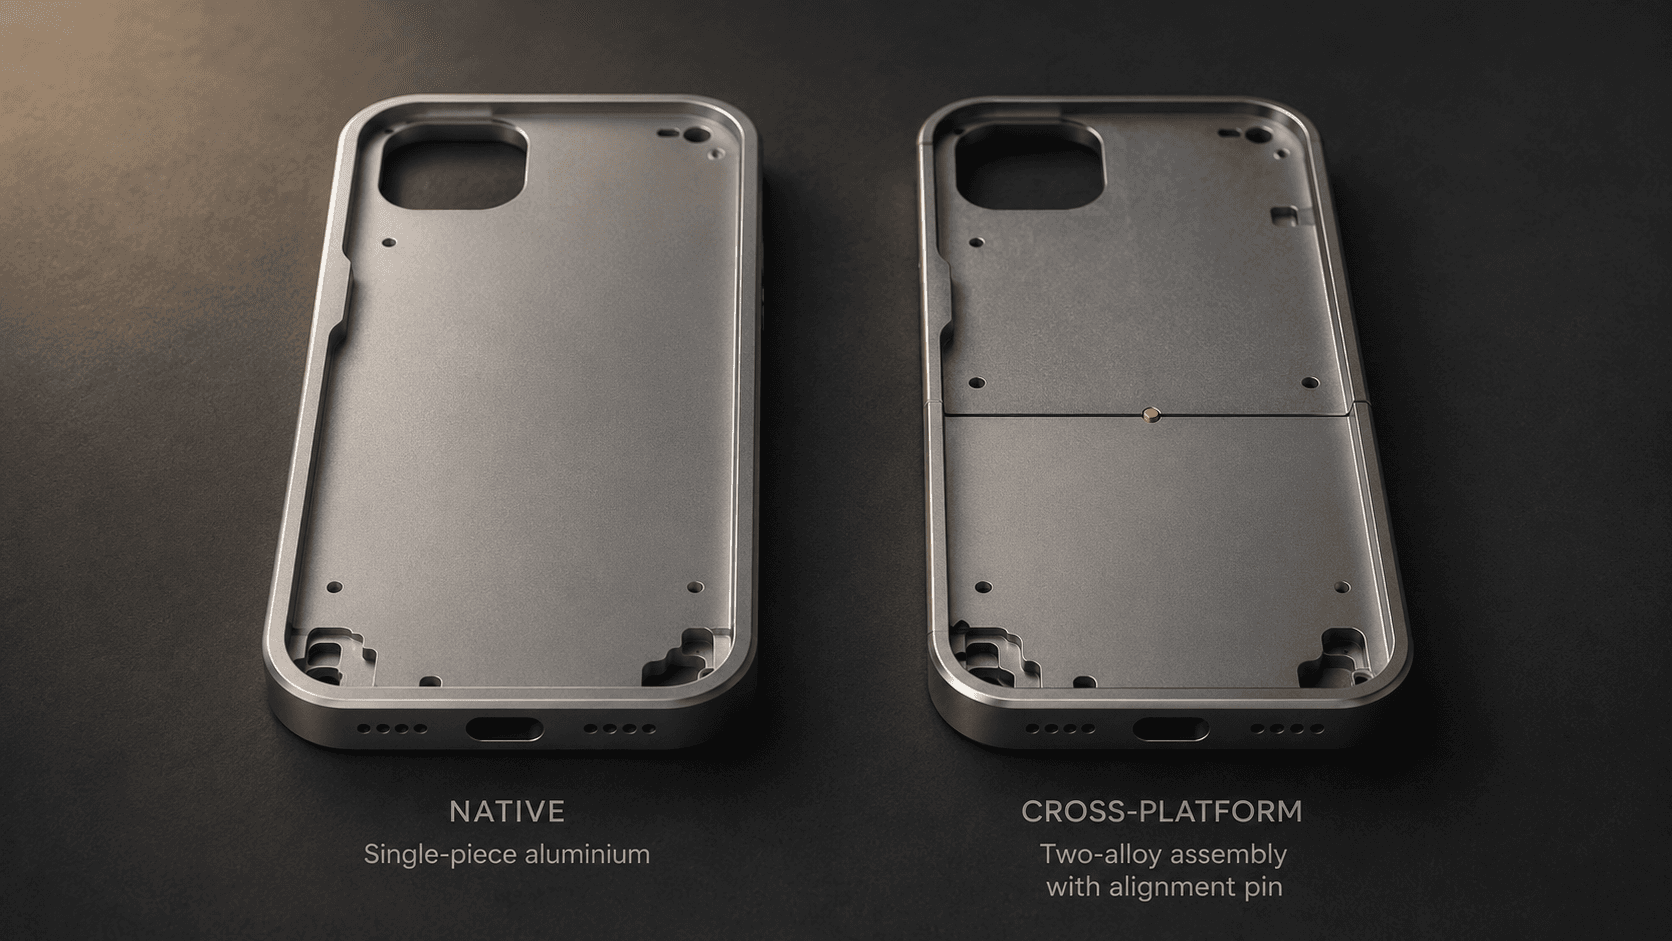
Native vs cross-platform mobile development: which is right for your app?
A practical guide for founders and product teams choosing between native iOS/Android and cross-platform mobile development: real costs, performance trade-offs, and which approach fits your product.

Top 10 ReactJS Development Companies & Agencies in 2026
Planning a web or mobile app in 2026 and considering React? This guide shares why ReactJS still leads, how to choose the right partner, 10 vetted companies including RaftLabs, and what red flags to watch for before you sign a contract.